

Quick Start
Common Settings
- After signing up for Vell, go to the dashboard.
- Open the Account tab and copy and note the value of the
Auth Key.
Here we use Node.js as an example to guide you through the setup.
We assume version 18.0 or later.
Setup on Vell side
Configuration on the Node.js side
- Only an example of a minimum configuration is described here.
- See here for the type of
payload. Executesendto send an email with the contents ofpayload. If you actually try it, replacetowith your own e-mail address and execute it.const payload = {subject: "Cool Subject",body: "# Headline\n This is a **Markdown** text\n ",to: []};const KEY = /// The Auth Key you just copiedconst send = async () => {const headers = new Headers();headers.append("auth-key", KEY);const response = await fetch("https://vell-letter.com/api/send/v1",{method: "POST",body: JSON.stringify(payload),headers: headers})}
Here is a guide to an example configuration in Postman.
- Go to Postman and open the workspace.
- Open
Importof the following image and paste the following URL into the field for pasting URLs.https://docs.vell-letter.com/openapi.yaml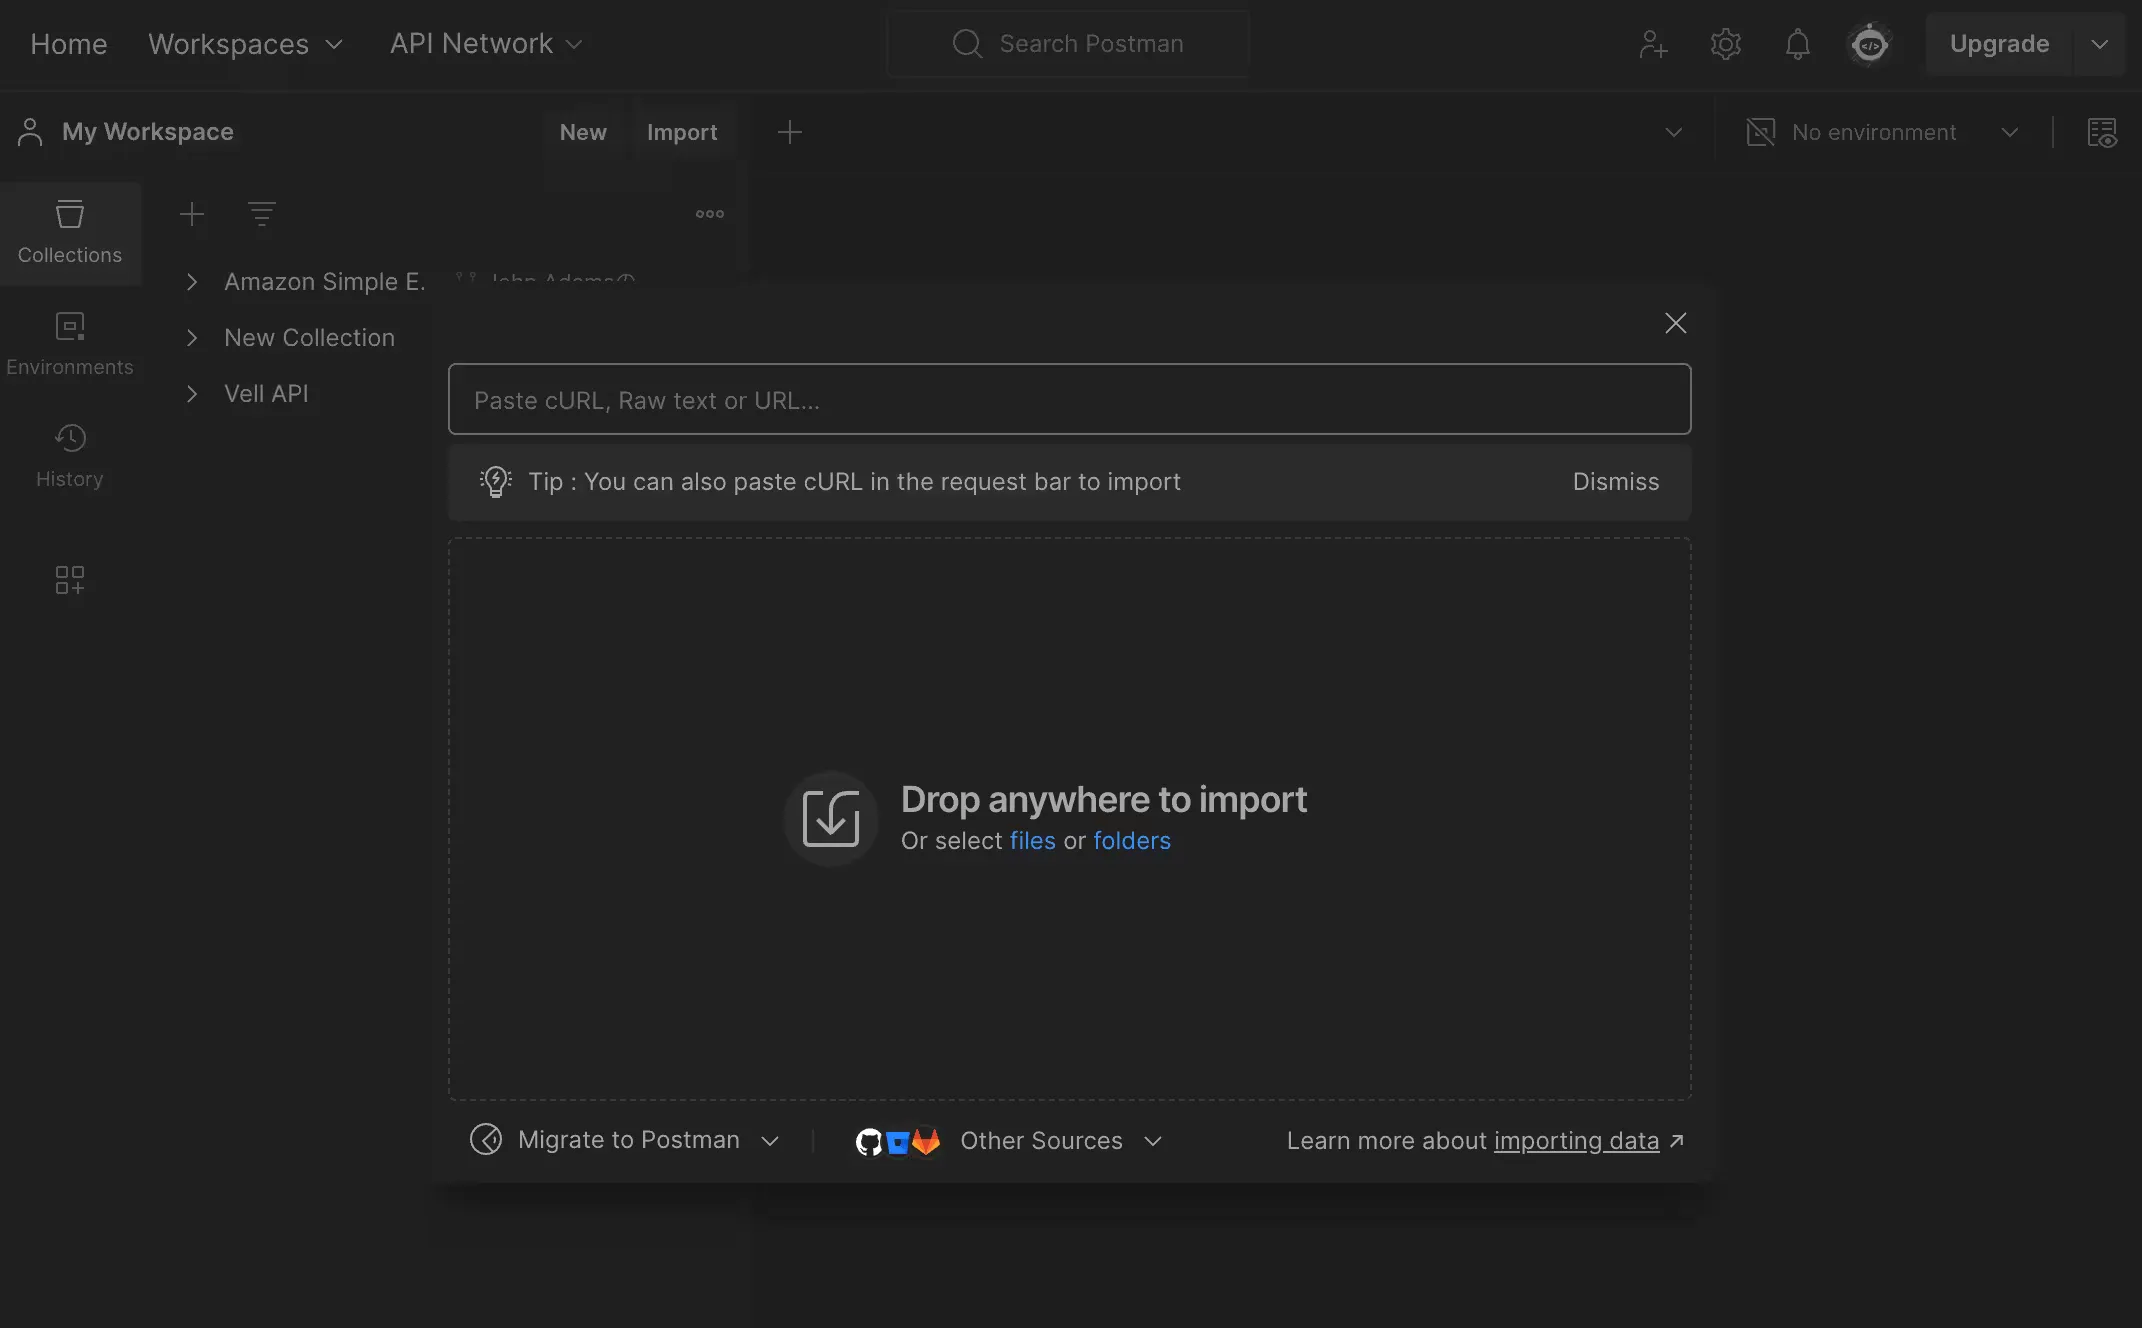
- The Vell API endpoints and schema will be imported. On the
Variablestab, enter theAuth Keyyou copied earlier for the value ofapiKey. - The
Bodyis set to the schema, so after filling in each field, pressSendand the result will be displayed in theResponseat the bottom.